
Intercom integration guide
ChartMogul has an integration with Intercom to import companies and users to create leads for ChartMogul CRM.
Learn more about other import methods for Subscription Analytics and CRM.
To export data from ChartMogul to Intercom, configure Intercom as a destination.
Here’s what we cover in this article:
- Overview
- Before you begin
- Connecting Intercom to ChartMogul
- Manually re-syncing data
- Deleting Intercom as a source
Overview
The following table provides details on key aspects of how ChartMogul integrates with Intercom.
| Customer import event | ChartMogul imports companies created in Intercom as customers. |
|---|---|
| Leads | ChartMogul only imports leads that are linked to a company. Learn more about tracking leads and trials. |
| Free trials | ChartMogul does not import this field. |
| Contacts | ChartMogul only imports contacts that are linked to a company. |
| Custom attributes | ChartMogul imports the custom data attributes selected when adding or modifying this source. |
| Historical data | When you add Intercom as a source, ChartMogul imports the existing data you choose to sync. |
| Reviewing data in-app | Once imported, ChartMogul gives you visibility into your customer and contact data as it exists in our platform through a series of data tables. To view these tables, navigate to Settings & Data > Sources, then select the source you want to view. |
| Update frequency | Real-time. Learn more. |
| Maintained by | This integration is built and maintained by ChartMogul. Contact our support team for assistance. |
Before you begin
- Set up an automation to automatically merge customers imported from Intercom with matching customers imported from your billing system. This way you’ll avoid creating duplicate customer records.
- Log in to the Intercom account you’d like to connect to ChartMogul.
- ChartMogul imports companies as customer records and adds contacts to these records. Learn more about how ChartMogul manages Customers & Customer Records.
Connecting Intercom to ChartMogul
Step 1 – Setting up a source
- Navigate to Settings & Data > Sources.
- Click Add Source > Customer / Contact / Enrichment data and select Intercom.

- Enter a unique name and click Next.
- Click Connect with Intercom.
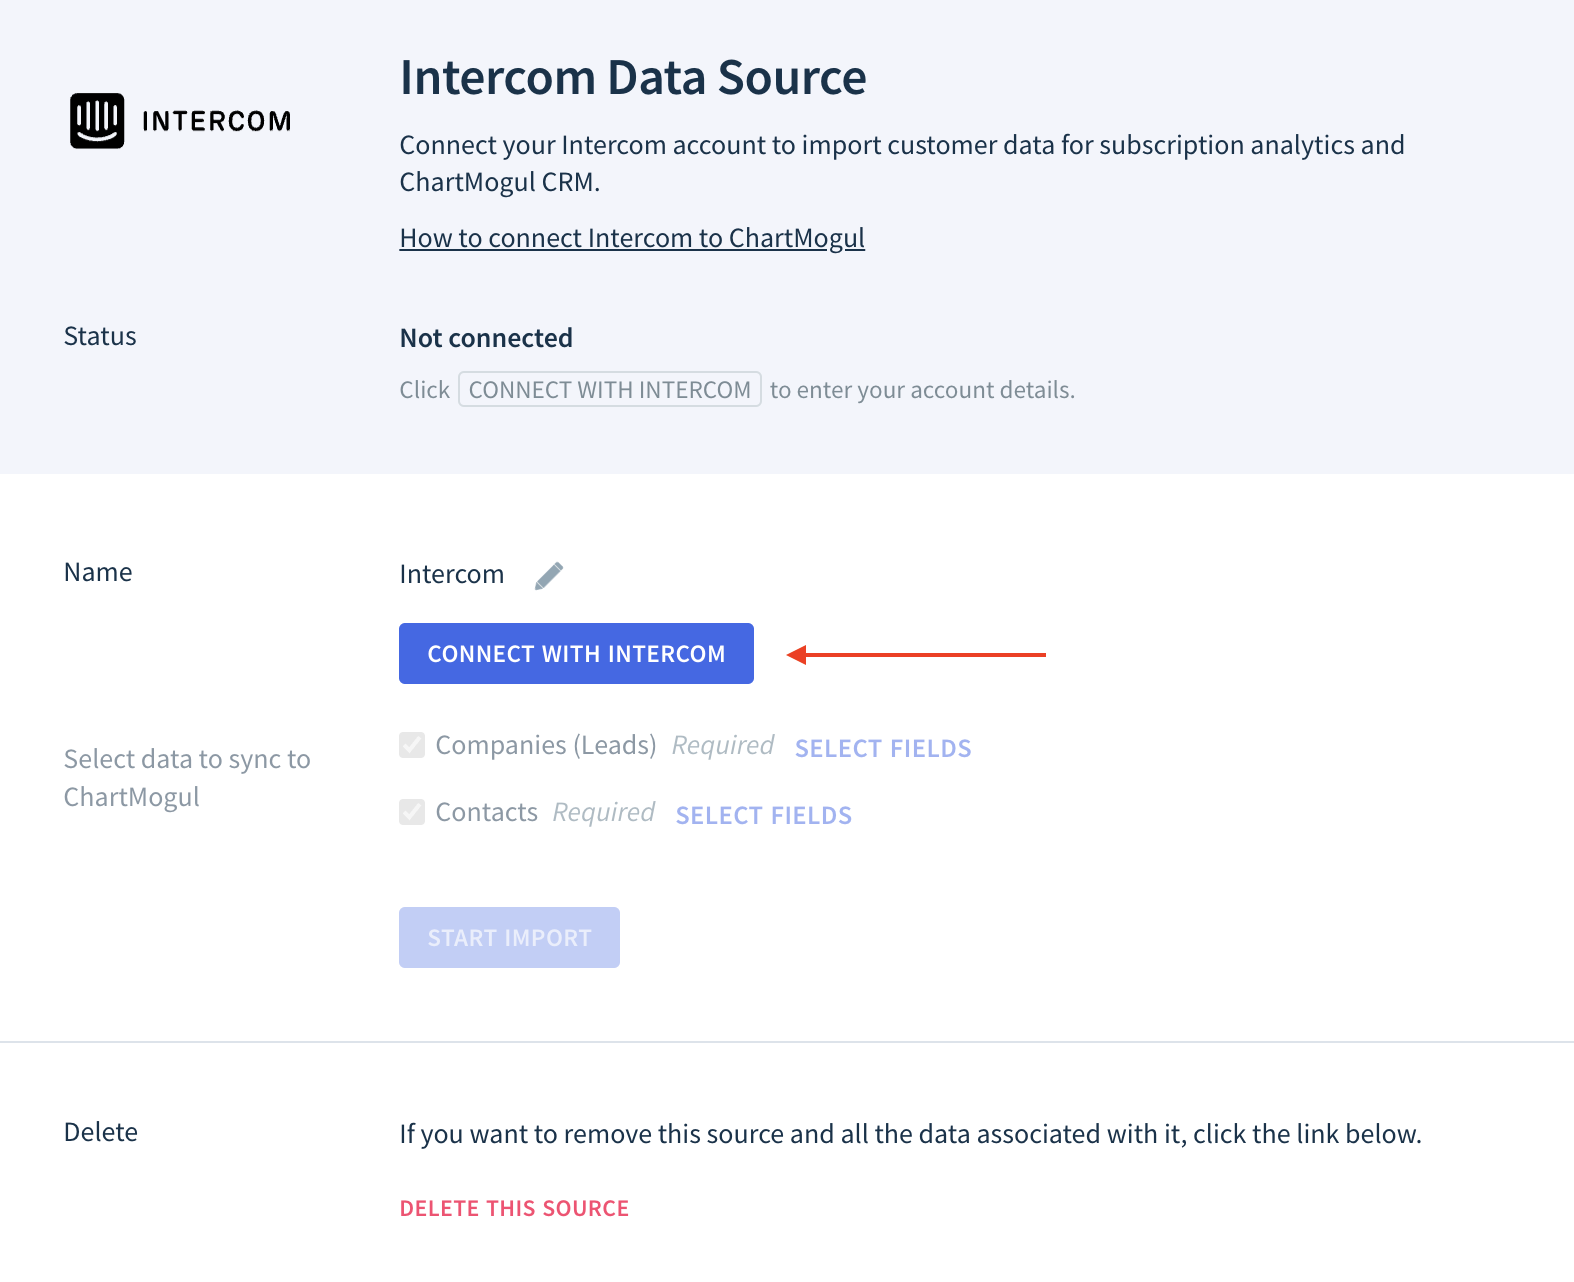
- Log in to your Intercom account.
- Click Authorize access.


Once connected, you will be redirected back to ChartMogul.
Step 2 – Syncing data
- Select the companies and contacts data you’d like to sync to ChartMogul. Select custom data attributes to import them as custom attributes.
- Click START Import to connect Intercom to ChartMogul and start importing your data.
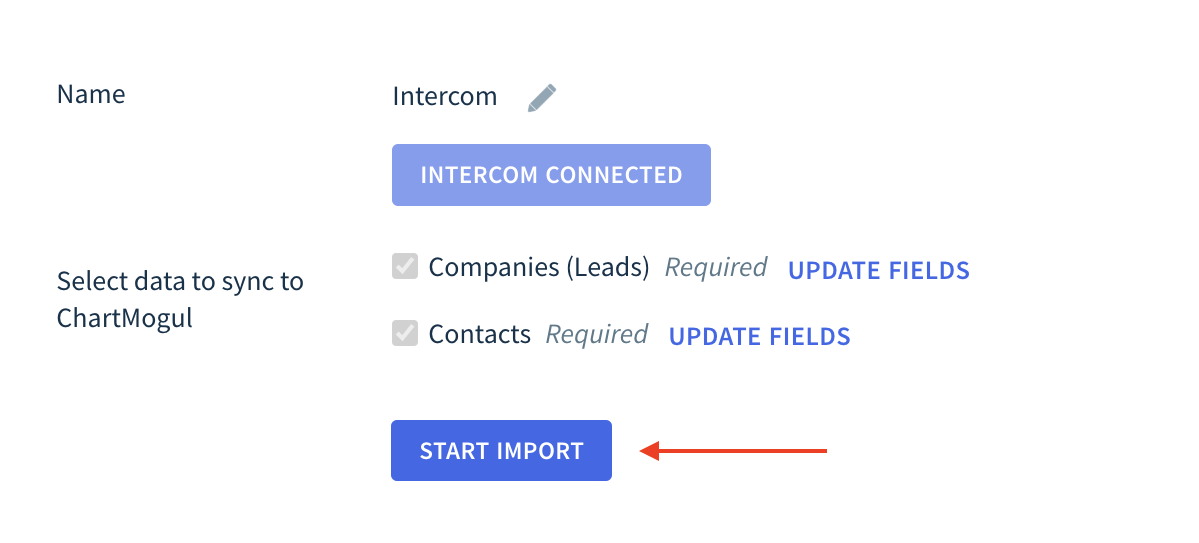

The import can take some time, depending on the number of customers. After the import has concluded, ChartMogul will update in real time with any new activity from Intercom. When a customer is deleted in Intercom, ChartMogul retains their customer record.
Manually re-syncing data
Here’s how to re-sync data when needed:
- Within ChartMogul, navigate to Settings & Data > Sources.
- Find your Intercom source and click the Settings icon.
- Click Update Fields to import new custom fields.

- Click Re-sync Data and Fields.
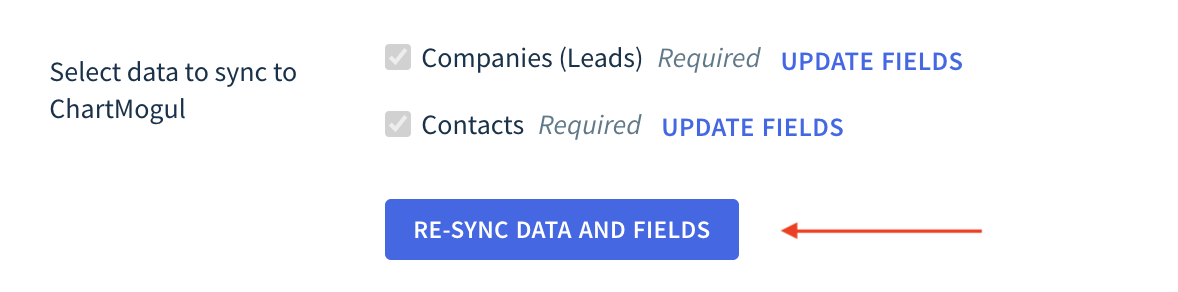


ChartMogul imports the selected custom fields as custom attributes and creates customer records based on your modified setting.
Deleting Intercom as a source
Deleting a source is permanent and cannot be undone.
Before deleting a source, please note the following:
- ChartMogul immediately deletes this source and irrevocably removes its data.
- All MRR adjustments and connected subscriptions will be lost.
- If this source contains a merged customer, ChartMogul uses data from the non-deleted source for the customer’s record. The record may display data overwritten during the merge and not the customer’s details at the time of import. Learn more about unmerging customers.
To delete an Intercom source, navigate to Settings & Data > Sources. Find the source in the list and click the Settings icon. From there, click Delete This Source.

Next Steps
- See the list of Intercom properties available for import.
- Learn more about lead statuses to classify and organize your customers.
- Start using ChartMogul CRM.