
Custom attributes
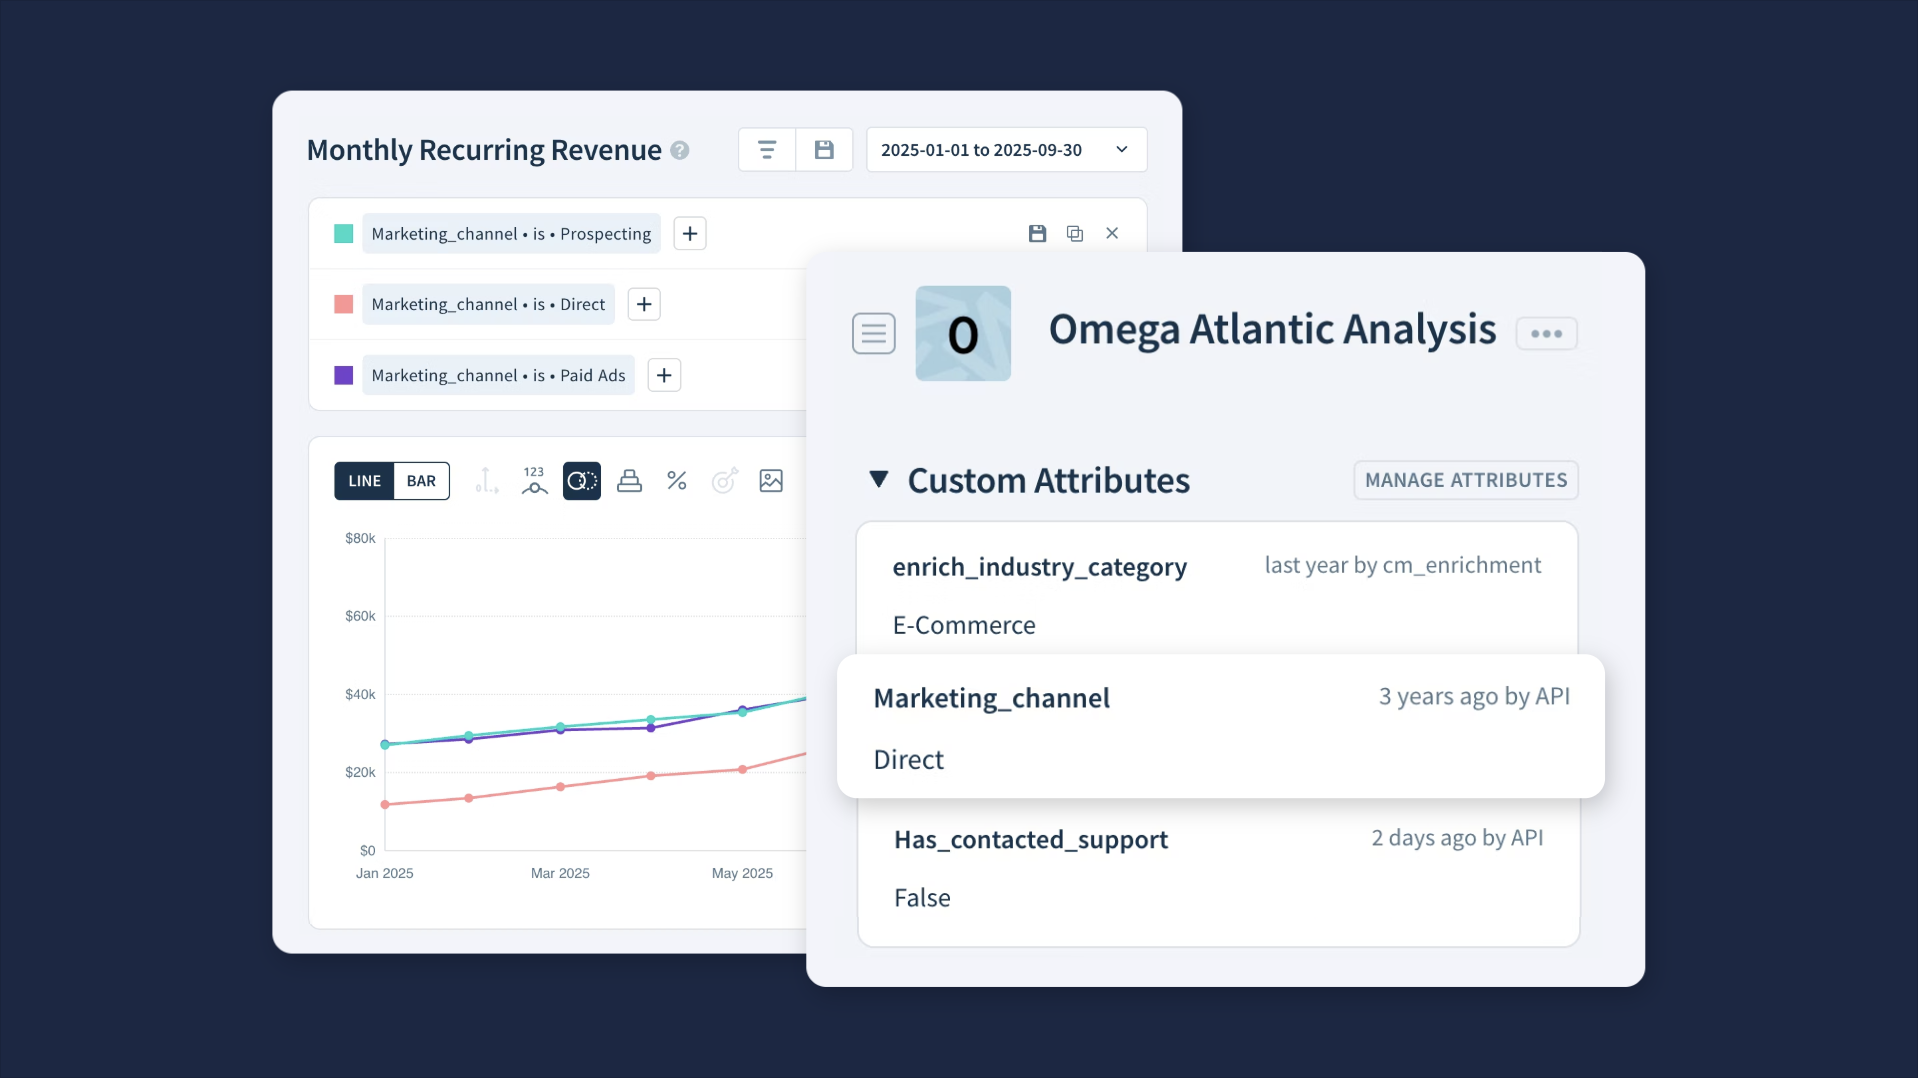
Custom attributes are additional data points you attach to customers, contacts, opportunities, and subscriptions to capture information unique to your business such as industry, acquisition channel, NPS score, or last login date.
Once added, they become available as filters and segment criteria across ChartMogul, letting you slice your MRR, churn, and retention metrics by the dimensions that matter most to how you operate.
Use custom attributes to uncover which industries drive the highest LTV, track trial conversion rates across onboarding programs, or flag at-risk customers before they churn.
Before adding custom attributes, see the list of standard attributes ChartMogul comes with.
Here's what we cover in this article:
- An overview of custom attributes
- Types of custom attributes
- Adding custom attributes
- Editing custom attributes
- Managing custom attributes
Resources and further reading:
Overview
Custom attributes consist of two parts: a name and a value. ChartMogul displays the name next to the attribute’s value. The value is the additional data point you’ve added to a customer, contact, opportunity, or subscription.
Customer
Additional data points you include to filter and segment customer records, such as onboarding rep, NPS score or the marketing campaign used to acquire them.
Contact
Additional data points for contacts within a customer record, such as their location or date of birth. These cannot be used with filtering or segmentation.
Opportunity
Additional data points for opportunities, such as the product/service they want to buy, number of seats they need or the name of the decision maker or champion. View custom attributes for opportunities within a customer record or by navigating to Opportunities. These cannot be used for filtering or segmentation.
Subscription
Additional data points to filter and segment subscriptions and subscription sets, such as the sales rep on the deal, acquisition channel, contract term, or the project the subscription covers. View subscription custom attributes in the Subscriptions table of a customer profile.
When you apply a custom attribute to a subscription set, all subscriptions in the set inherit its value. If a subscription already has its own value for that attribute, the value isn’t overwritten.
If your subscriptions belong to a set, we recommend applying custom attributes at the set level in most cases. Subscriptions in a set can change over time (for example, when a customer switches plans), so attributes added at the set level stay in place through those changes.
Types of custom attributes
A custom attribute’s data type defines what type of information it stores (e.g., number or string) and, as a result, which operators you can use when filtering. Learn how filters work.
| Data Type | Description | Operators | Examples |
|---|---|---|---|
| String | Sequence of letters, numbers or symbols up to 255 characters in length. |
|
Account manager, marketing campaign |
| Integer | Whole number |
|
NPS score, CSAT score, number of emails opened, number of site visits |
| Decimal | Number with a decimal point |
|
Customer health score, average logins per month, initial payment amount |
| Timestamp | Date and time |
|
First visit date, date of support ticket, date of upgrade from free plan |
| Boolean | True or false condition |
|
Signed up for newsletter, contacted support, contacted regarding upsell |
| Dropdown select | One of a set of predefined values. Learn more. |
|
Marketing channel, ideal customer profile (ICP), industry, preferred contact method |
Dropdown select
Creating a dropdown select attribute allows team members to choose from predefined values, such as your business’ ideal customer profiles (ICPs) or marketing channels. Selecting values from a dropdown ensures data is accurate for filtering and segmentation.

Define the dropdown options when creating an attribute. Edit them later in the Custom Attributes Manager.
Adding custom attributes
There are several ways to add custom attributes in ChartMogul. Manually add attributes in-app. To manually add attributes in bulk, use flexible CSV import or Google Sheets. To automate the creation of custom attributes, use AI Enrichment, our API, n8N or Zapier.
ChartMogul imports data as custom attributes from select integrations. Review the list here.
|
|
Customer | Contact | Opportunity | Subscription |
| AI Enrichment |
|
|
|
|
| API |
|
|
|
|
| Flexible CSV import |
|
|
|
|
| Google Sheets |
|
|
|
|
| Imported from an integration |
|
|
|
|
| Manually in-app |
|
|
|
|
| n8n |
|
|
|
|
| Zapier |
|
|
|
|

AI Enrichment
Enhance your customer records with key business details by using OpenAI to scan your leads and customers’ websites. Learn more.
API
Build your own integration to send custom attributes from any tool you use for marketing, customer relationship management or even your own database using our API.
To add custom attributes to customers, use the Add Custom Attributes to a Customer endpoint.
To add custom attributes to contacts, use the API when creating or updating.
To add custom attributes to opportunities, use the API when creating or updating.
To add custom attributes to subscriptions or subscription sets, use the Add Custom Attributes to a Subscription endpoint. To update them, use the Update Custom Attributes of a Subscription endpoint.
Flexible CSV import
Import a CSV file with custom attributes and map them to customers or contacts. Learn more.
Google Sheets
Add attributes to customers using our Google Sheets app. Learn more about importing custom attributes from a Google Sheet.
Imported from an integration
ChartMogul imports data as custom attributes to customers from the following integrations. Select integrations import custom attributes to contacts. Review the relevant integration guide for more information:
Manually in-app
An attribute's Name and Data type are permanent and cannot be changed.
To add custom attributes in-app:
- Navigate to Settings & Data > Manage > Custom Attributes.
- Using the secondary navigation, select whether you’d like to create a custom attribute for: Customers, Contacts or Opportunities.
- Click ADD CUSTOM ATTRIBUTE.
- Enter a name for the attribute. Accepts letters, numbers and underscores up to 255 characters in length.
- Select a Data type using the drop-down.
- Click SAVE.
The dropdown select type requires additional settings:
- Add Options to choose from.
- Under Sort list, select the order:
- Manual — Drag the options to arrange them on the list
- A → Z — Alphabetical order
- Z → A — Reverse alphabetical order

n8n
Add custom attributes to a customer using our API without writing a single line of code. Learn more.
Zapier
Import custom attributes from other apps used at your organization by integrating ChartMogul with Zapier.
Editing custom attributes
Use bulk editing to edit a maximum of three custom attributes for customers at the same time.
Customer
Update attributes in-app by navigating to Customers and then the customer record you’d like to update.
Update a customer's attributes by navigating to Custom Attributes and clicking the Edit icon next to the attribute you want to change. Then, click the Tick icon to confirm.
Contact
Update a contact’s attributes in-app by navigating to Customers and finding the customer record associated with the contact. Then, find the contact whose custom attribute(s) you’d like to update and click the Edit icon. Update the attribute value and click SAVE.
Opportunity
Update an opportunity’s attributes in-app by navigating to Opportunities and selecting the opportunity you wish to update. Then, find the opportunity whose custom attribute(s) you’d like to update and click the Edit icon. Update the attribute value and click SAVE.
Subscription
Update the attributes of a subscription or subscription set in-app by navigating to Customers and finding the customer record associated with the subscription. Switch to the Revenue tab and find the Subscriptions table. Click the Edit custom attributes icon in the row of the subscription or subscription set, adjust the values, and click SAVE.
Managing custom attributes
You'll need to be a Staff, Admin or Owner to manage custom attributes. Read more about roles and permissions.
View and manage attributes by navigating to Settings & Data > Manage > Custom Attributes. Then, select which attributes you’d like to manage: Customers, Contacts, Opportunities, or Subscriptions.
There, you'll find the Custom Attributes table with the following details:
- Name — the name of the attribute displayed
- Data Type — the data type of the attribute, either String, Integer, Decimal, Timestamp or Boolean
- Track Historical Values (available only for customer custom attributes) — a toggle that controls whether ChartMogul keeps a historical record of changes to this attribute. Tracking is disabled by default, and historical values are only recorded from the point the toggle is enabled.
By default, ChartMogul displays attributes alphabetically in-app (e.g., on the customer record, in the filter drop-down, etc.). To customize the order, hold and drag the Hamburger icon.
Attributes cannot be deleted. However, you can retire an attribute you no longer want to use by clicking Archive. Archived attributes will move to the bottom of the table. Revive a retired attribute by clicking Unarchive.
Editing a dropdown select attribute
To adjust the options of a dropdown select attribute:
- Click the Edit icon next to a dropdown select attribute.
- Adjust the options and sorting.
- Click Save to apply your changes.

Next Steps
- Use custom attributes to create a customer list or saved segment.
- Classify and group customers using tags.
- Create automated workflows to organize and update custom attributes.