
Tags
Tags in ChartMogul are labels you attach to customer records to classify, group, and filter customers across your reports and segments. You can add an unlimited number of tags to each customer. For example, you can tag customers by features they've requested to prioritize your roadmap by MRR impact, or tag at-risk accounts to drive churn mitigation.
Here's what we cover in this article:
How to Add Tags
Tags can be created and added in bulk using automations, bulk editing, flexible CSV import, our API or Google Sheets.
To add a tag manually, find the customer you’d like to tag, then use the Tags field to add a tag to that customer.
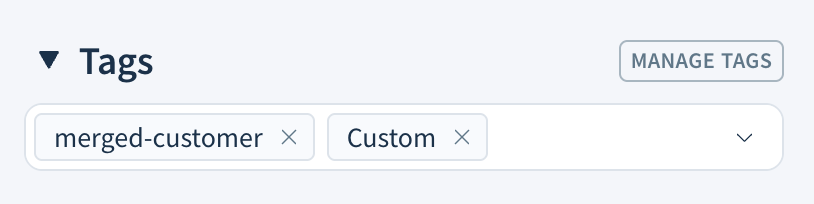
The Tags field allows you to select from a list of tags you previously created or create a new tag and add it to the customer. To create a new tag, type it into the Tags field and press Enter or Return. You can then select this tag from the list ChartMogul displays when adding tags to other customers.
In some instances, ChartMogul adds these tags to customers:
auto-churned-delinquent-subscriptions— added to a customer whose subscription has been canceled as a result of your Handling Past-due Subscriptions setting. ChartMogul keeps this tag in place even if the customer later reactivates their subscription.deleted_customer_in_stripe— added to a customer that has been deleted in Stripe.subscriber_id_reset— added to a customer that has reactivated after more than half a year in App Store Connect.- The date and time when using flexible CSV import — added to customers created or updated using this method. For example,
Created20240426_1015orUpdated20240426_1015.
How to Filter Using Tags
There are five operators you can use when filtering customers using tags. An operator is a rule that determines whether a customer is included in your list or report.
- is one of — includes customers with at least one of the selected tags
- is none of — includes customers without any of the selected tags
- has all of — includes customers with all of the selected tags, including those with tags other than the ones you’ve selected
- is present — includes customers with any tag
- is not present — includes customers with no tags

How to Manage Tags
ChartMogul’s Tags section provides an overview of the tags you’ve added to customers and allows you to rename and delete tags.

The Tags section shows how many customers have each tag, who last used it, and when. Click the total in the Customers column to see all customers with that tag.
To rename a tag, click the :edit~gray: Edit icon. Make your edits and confirm them with the :tick~green: Tick icon. ChartMogul will then update customers with this tag and log a tag_updated event in the Activity Log.
After renaming a tag in the Tags section, you’ll also need to manually update any segments you've saved that use the tag. You can do this by editing the segment.
To remove the tag from all customers, click the :trash-stroke~gray: Delete icon. Click OK to confirm. This action is permanent and cannot be undone. ChartMogul records tag deletions in the activity log.
Next Steps: Automate Tags
Use automated workflows to add tags to customers automatically — for example, when they reach a certain MRR threshold.